In this guide, we shall learn how to check mails from [email protected] through [email protected]. We shall also see how to send mails as [email protected] from [email protected].
Step 1: Log in to your Gmail address. For example [email protected]
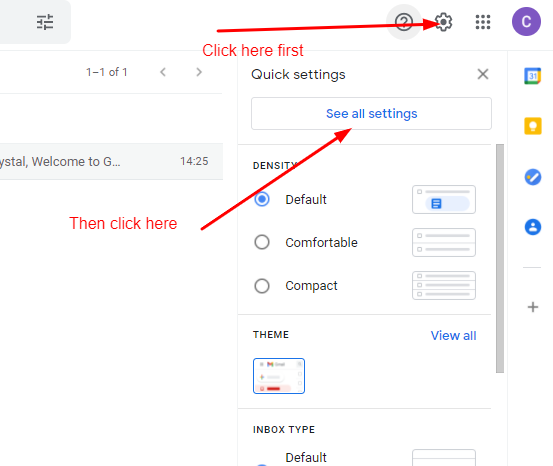
Step 2: Click on the Settings gear then click on See all settings
Step 3: On the Settings Menu, click on Accounts and Imports then under Check email from other accounts, click on Add account.

Step 4: On the pop-up window, enter your Email address then click Next. In this case, [email protected]
Step 5: Select Import emails from my other account (POP3)
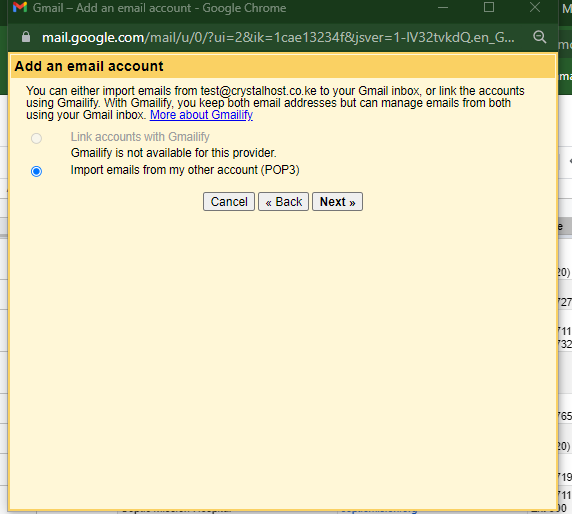
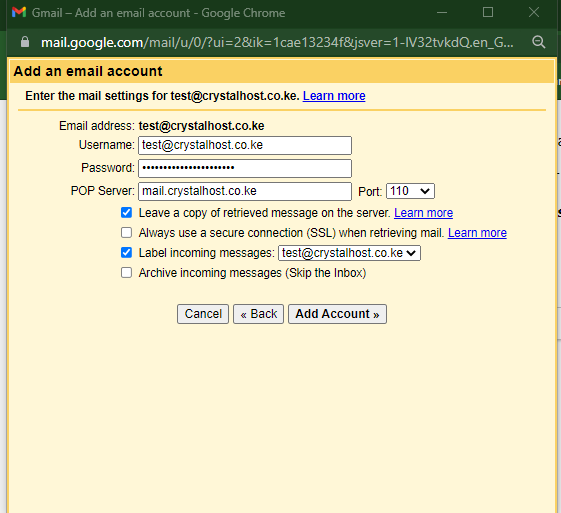
Step 6: Click Next. On the window, kindly fill in the details as illustrated below:
Username: Full email address
Password: The password for the above address
Pop server: Mail.domainname or Server IP address
Enable Leave a copy of retrieved message on the server.
Enable Label incoming messages
Step 7: Click on Add Account
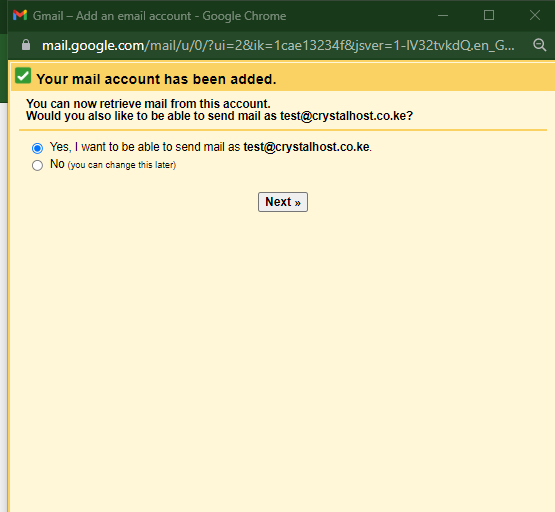
You will receive a notification indicating that Your mail account has been added.
Step 8: Click Next on the window below to configure the "Send as" option
Step 9: Enter a preferred Display name on the Name, Leave "Treat as an alias" enabled then click on Next Step
Step 10: On the next window, enter the details below:
SMTP Server: mail.domainname or Server IP address
Port: 587 or 465
Username: Full email address
Password: Password for the above email address
Enable Secured connection using TLS (recommended)
Step 11: Click Next to finish. The details should display as follows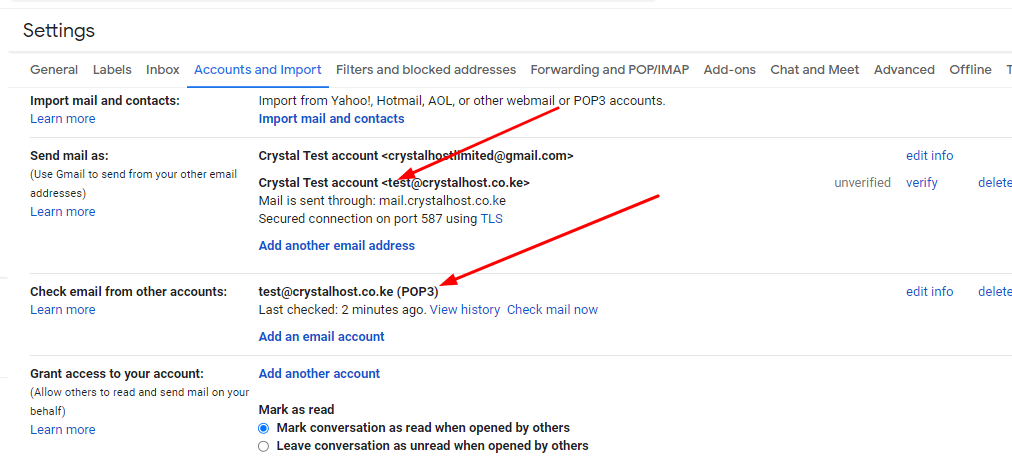
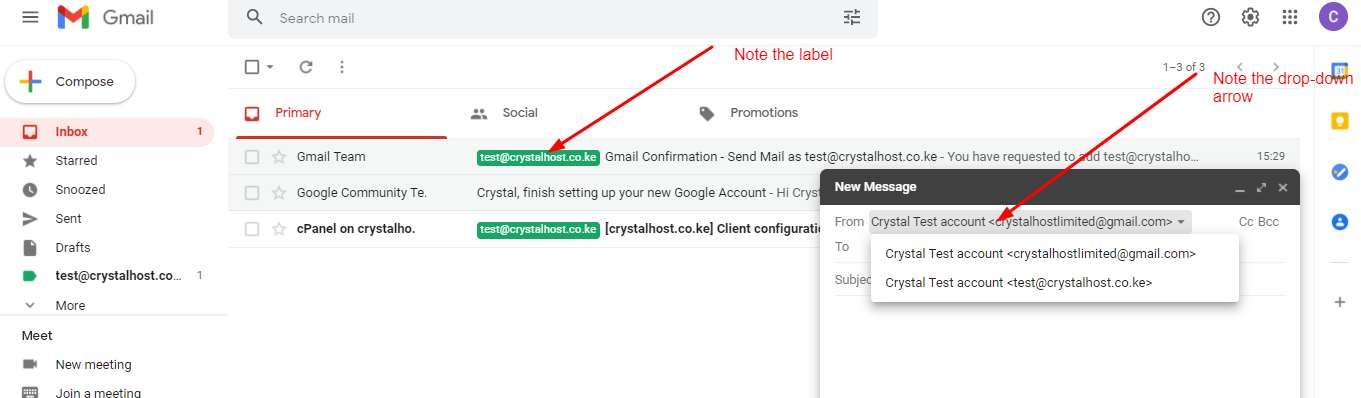
After the setup is complete, mails that come to [email protected] should have a label and when sending out, there is a drop-down arrow with a provision to select the address you want to send from.